Cloning a repository
Last updated on 2025-10-28 | Edit this page
Estimated time: 22 minutes
Overview
Questions
- How do we collaborate with Git?
- How do we get code from GitHub into our computer?
- How do we revert changes that we do not want?
Objectives
-
Clone a repository and the
git clonecommand. -
Pull changes and the
git pullcommand. - Revert a change that was made and broke the code.
To start, we have two repositories to choose from, one in Python and one in R. Both repositories contain the same thing: a script that calculates the GC content of the sequences in a given FASTA file. Pick the language that you’re most comfortable with to proceed:
Take a note of the contents of each repository: - A README file - The script with the code - An example data file - A LICENSE file
Clone your chosen repository locally using the git clone
command.
Cloning a repository
- Click the
< > Codebutton on the top right of the repository’s contents.

This copies the remote’s URL to your clipboard.
- Navigate to a suitable directory (not inside our
previous
gitgoodrepository), such as the Desktop directory, and rungit clone <URL>
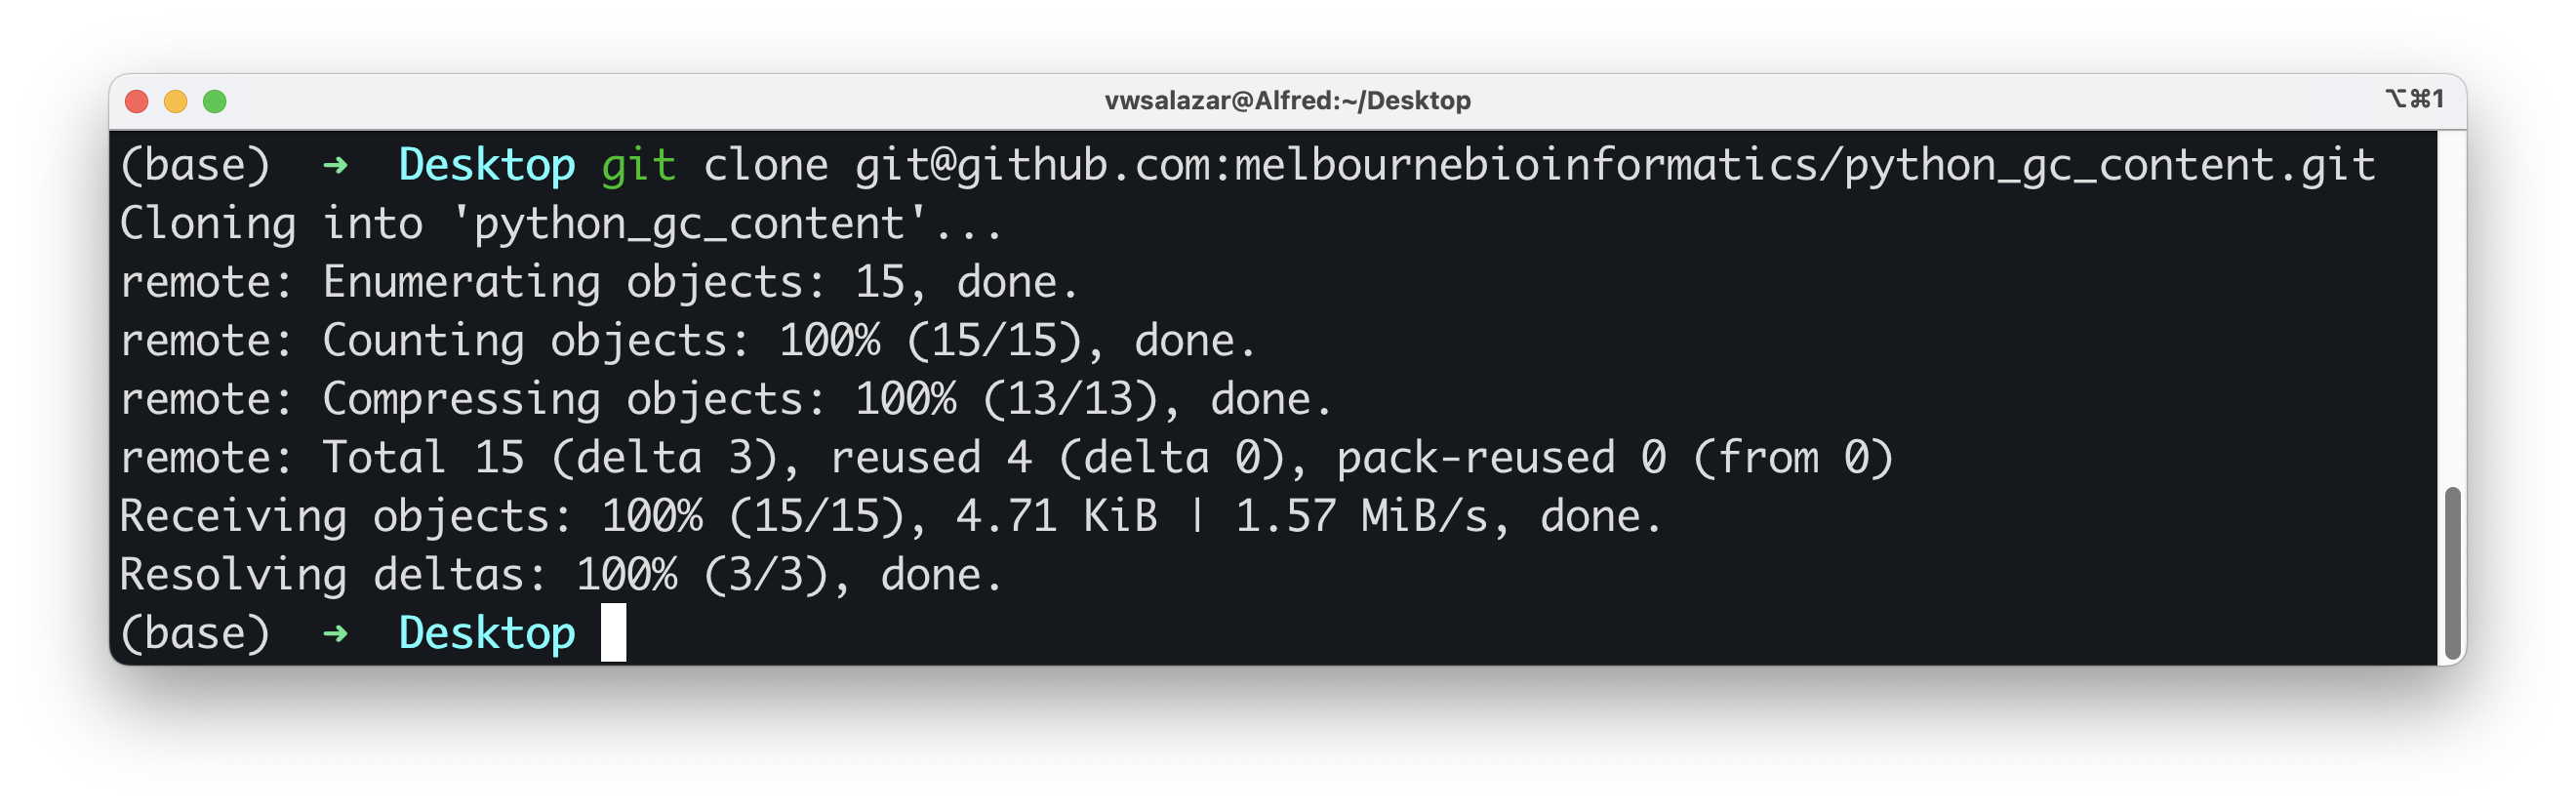
Well done! You now have a local copy of the code. Cloning is a powerful feature that allows us to effortlessly create a copy of an existing repository. If you make your code available on GitHub, people can clone it and customise it.
Undoing changes
Now, let’s try running the code in the repository:
You most likely got an error message like this one:
Let’s explore the log on the repository. Run
git log:
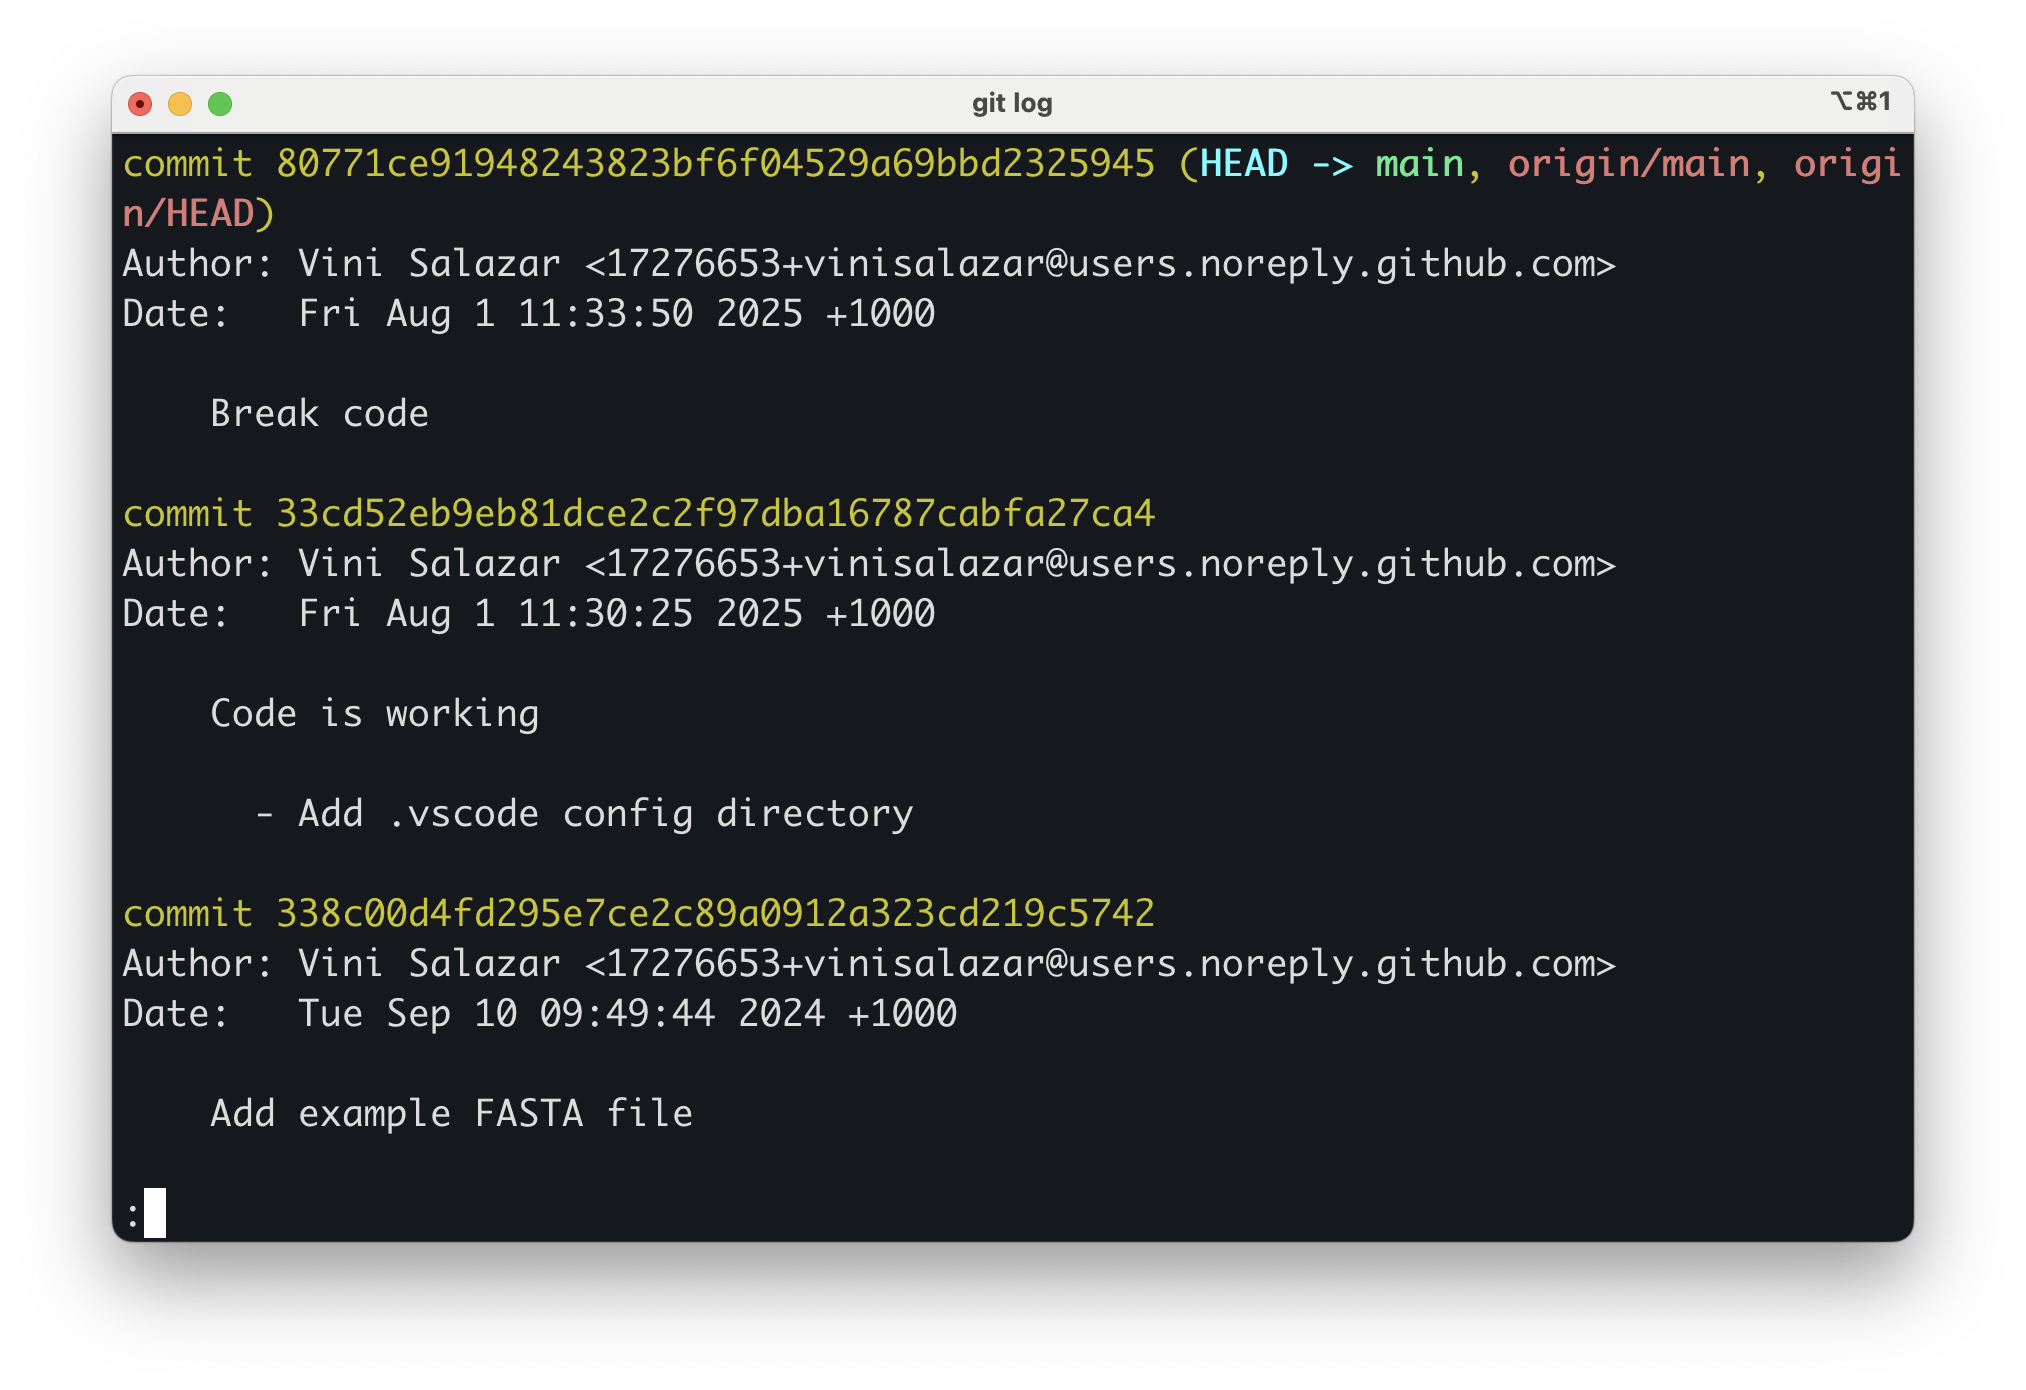
Apparently, the last commit purposefully breaks the code so that we can fix it ourselves! We wouldn’t know that if it weren’t for a descriptive commit message.
Now, there are two things we could do:
- Go back to the previous commit to inspect the working version of the
code.
- Fix the code ourselves and commit the changes.
There are multiple ways to move between commits in Git. Here, we will
use the git checkout command:
This tells Git to “check out” the commit that came just before the
current one (HEAD~1, or the commit ID
82c8425). In other words, we’re temporarily moving our
working directory to the previous commit so we can look at what the code
was like before it broke. Let’s check the files in our project now —
you’ll see that the broken code is gone.
The output message shows that we’re in what Git calls a “detached HEAD” state:
BASH
Note: switching to 'HEAD~1'.

You are in 'detached HEAD' state. You can look around, make experimental
changes and commit them, and you can discard any commits you make in this
state without impacting any branches by switching back to a branch.

If you want to create a new branch to retain commits you create, you may
do so (now or later) by using -c with the switch command. Example:

  git switch -c <new-branch-name>

Or undo this operation with:

  git switch -

Turn off this advice by setting config variable advice.detachedHead to false

HEAD is now at 82c8425 Code is working
This simply means we’re no longer “on” a branch — we’re just viewing a past snapshot of the project. From here, we can examine the code or even copy the fixed version.
If you want to see what changed in the broken commit, you can use:
We can see that the code broke because a closing parenthesis was removed in the last commit.
When you’re done inspecting this older version, return to the latest state of the project with:
This brings you back to the most recent commit on your main branch. You can now fix the broken code yourself, add your changes, and commit them as usual.
Now that we have fully restored the breaking changes, let’s try running the code again:
The result should be:
OUTPUT
Overall GC Content: 57.98%This was the first way that we could fix what wrong with the code, by
reverting to a previous version that we know that worked. Let’s try the
second approach, of fixing the change ourselves in a new commit. First,
let’s undo what we did by running git reset. By doing that,
we moved to a previous commit in time. That means that our local copy is
one commit behind the remote. So, we can go back to the
broken version simply by running:
This will sync the remote with the local.
Challenge
Now, try perfoming the fix yourself. Once you make sure that the new
code works, run git add, git commit. Raise
your hand or put up a green post-it when you are done.
Well done! You fixed a broken a script and committed the result using Git. That is no easy feat! It will pave your way to making more contributions in the future.
After making sure that the code works, push your changes using
git push. What happens then?
Because the repository that we cloned is under Melbourne Bioinformatics, we don’t have write access to it. In order to push the code to GitHub, we need our own copy of the code, so we must fork the repository. Let’s see how to do that.
-
git clonecopies a remote repository to our local repository. -
git checkoutallows us to move between commits – back and forth through a repository’s timeline. -
HEADindicates the current state of the repository.HEAD~1,HEAD~2refer to one or two commits before the current - We cannot push to a remote repository if we do not have access to it.